6 Steps To The Perfect Elongated Twistout
How To Beat Shrinkage With An Elongated Twistout
Source: McKenzie Dawkins / Photo by McKenzie Dawkins
I’ve been natural for around four years now, and it’s taken that long for me to finally master the perfect twistout. I typically prefer to be low-maintenance with my routine, so I usually stick to wash n go’s which are pretty no muss, no fuss for my texture. Whenever I’ve tried to achieve a twistout, my results were always subpar at best. Either my technique wasn’t quite right or I underestimated my drying-time, only to unravel damp twists and be left with a hot mess of frizz. Well, not anymore! I’ve recently stumbled upon a new routine for an amazing, moisturized, and elongated twistout that I’m completely obsessed with. Keep reading to learn how I beat shrinkage with this simple routine.
Source: McKenzie Dawkins / Photo by McKenzie Dawkins
WHAT YOU’LL NEED:
Leave-in conditioner
Twisting butter or cream
Hair oil
Wide-tooth comb or detangling brush
HOW TO:
Source: McKenzie Dawkins / Photo by McKenzie Dawkins
Step 1: Start off with detangled and freshly washed or co-washed hair. If you enjoy shampoos, try the Creme of Nature Argan Oil Moisture & Shine Shampoo ($4.98, walmart.com). If you prefer a co-wash, try the As I Am Coconut Cleansing Conditioner ($6.69, target.com). You’ll want to make sure that your hair is thoroughly detangled.

Source: McKenzie Dawkins / Photo by McKenzie Dawkins
Step 2: To prep for your elongated twistout, you will first need to moisturize and stretch your hair. First, apply a leave-in conditioner of your choice to damp—not wet—hair. I went with the Carol’s Daughter Black Vanilla Leave-In Conditioner ($10.99, target.com) because it’s lightweight and would pair well with the heavy twisting cream I’d be using later on.
To stretch my hair, I split it down the middle and flat-twisted each side down into a pigtail. I wore this as a style for a full day and a half to give my hair time to air-dry. I chose this method because it’s safe and heatless, but for even more elongated results, you could opt to use a blow-dryer.
Source: McKenzie Dawkins / Photo by McKenzie Dawkins
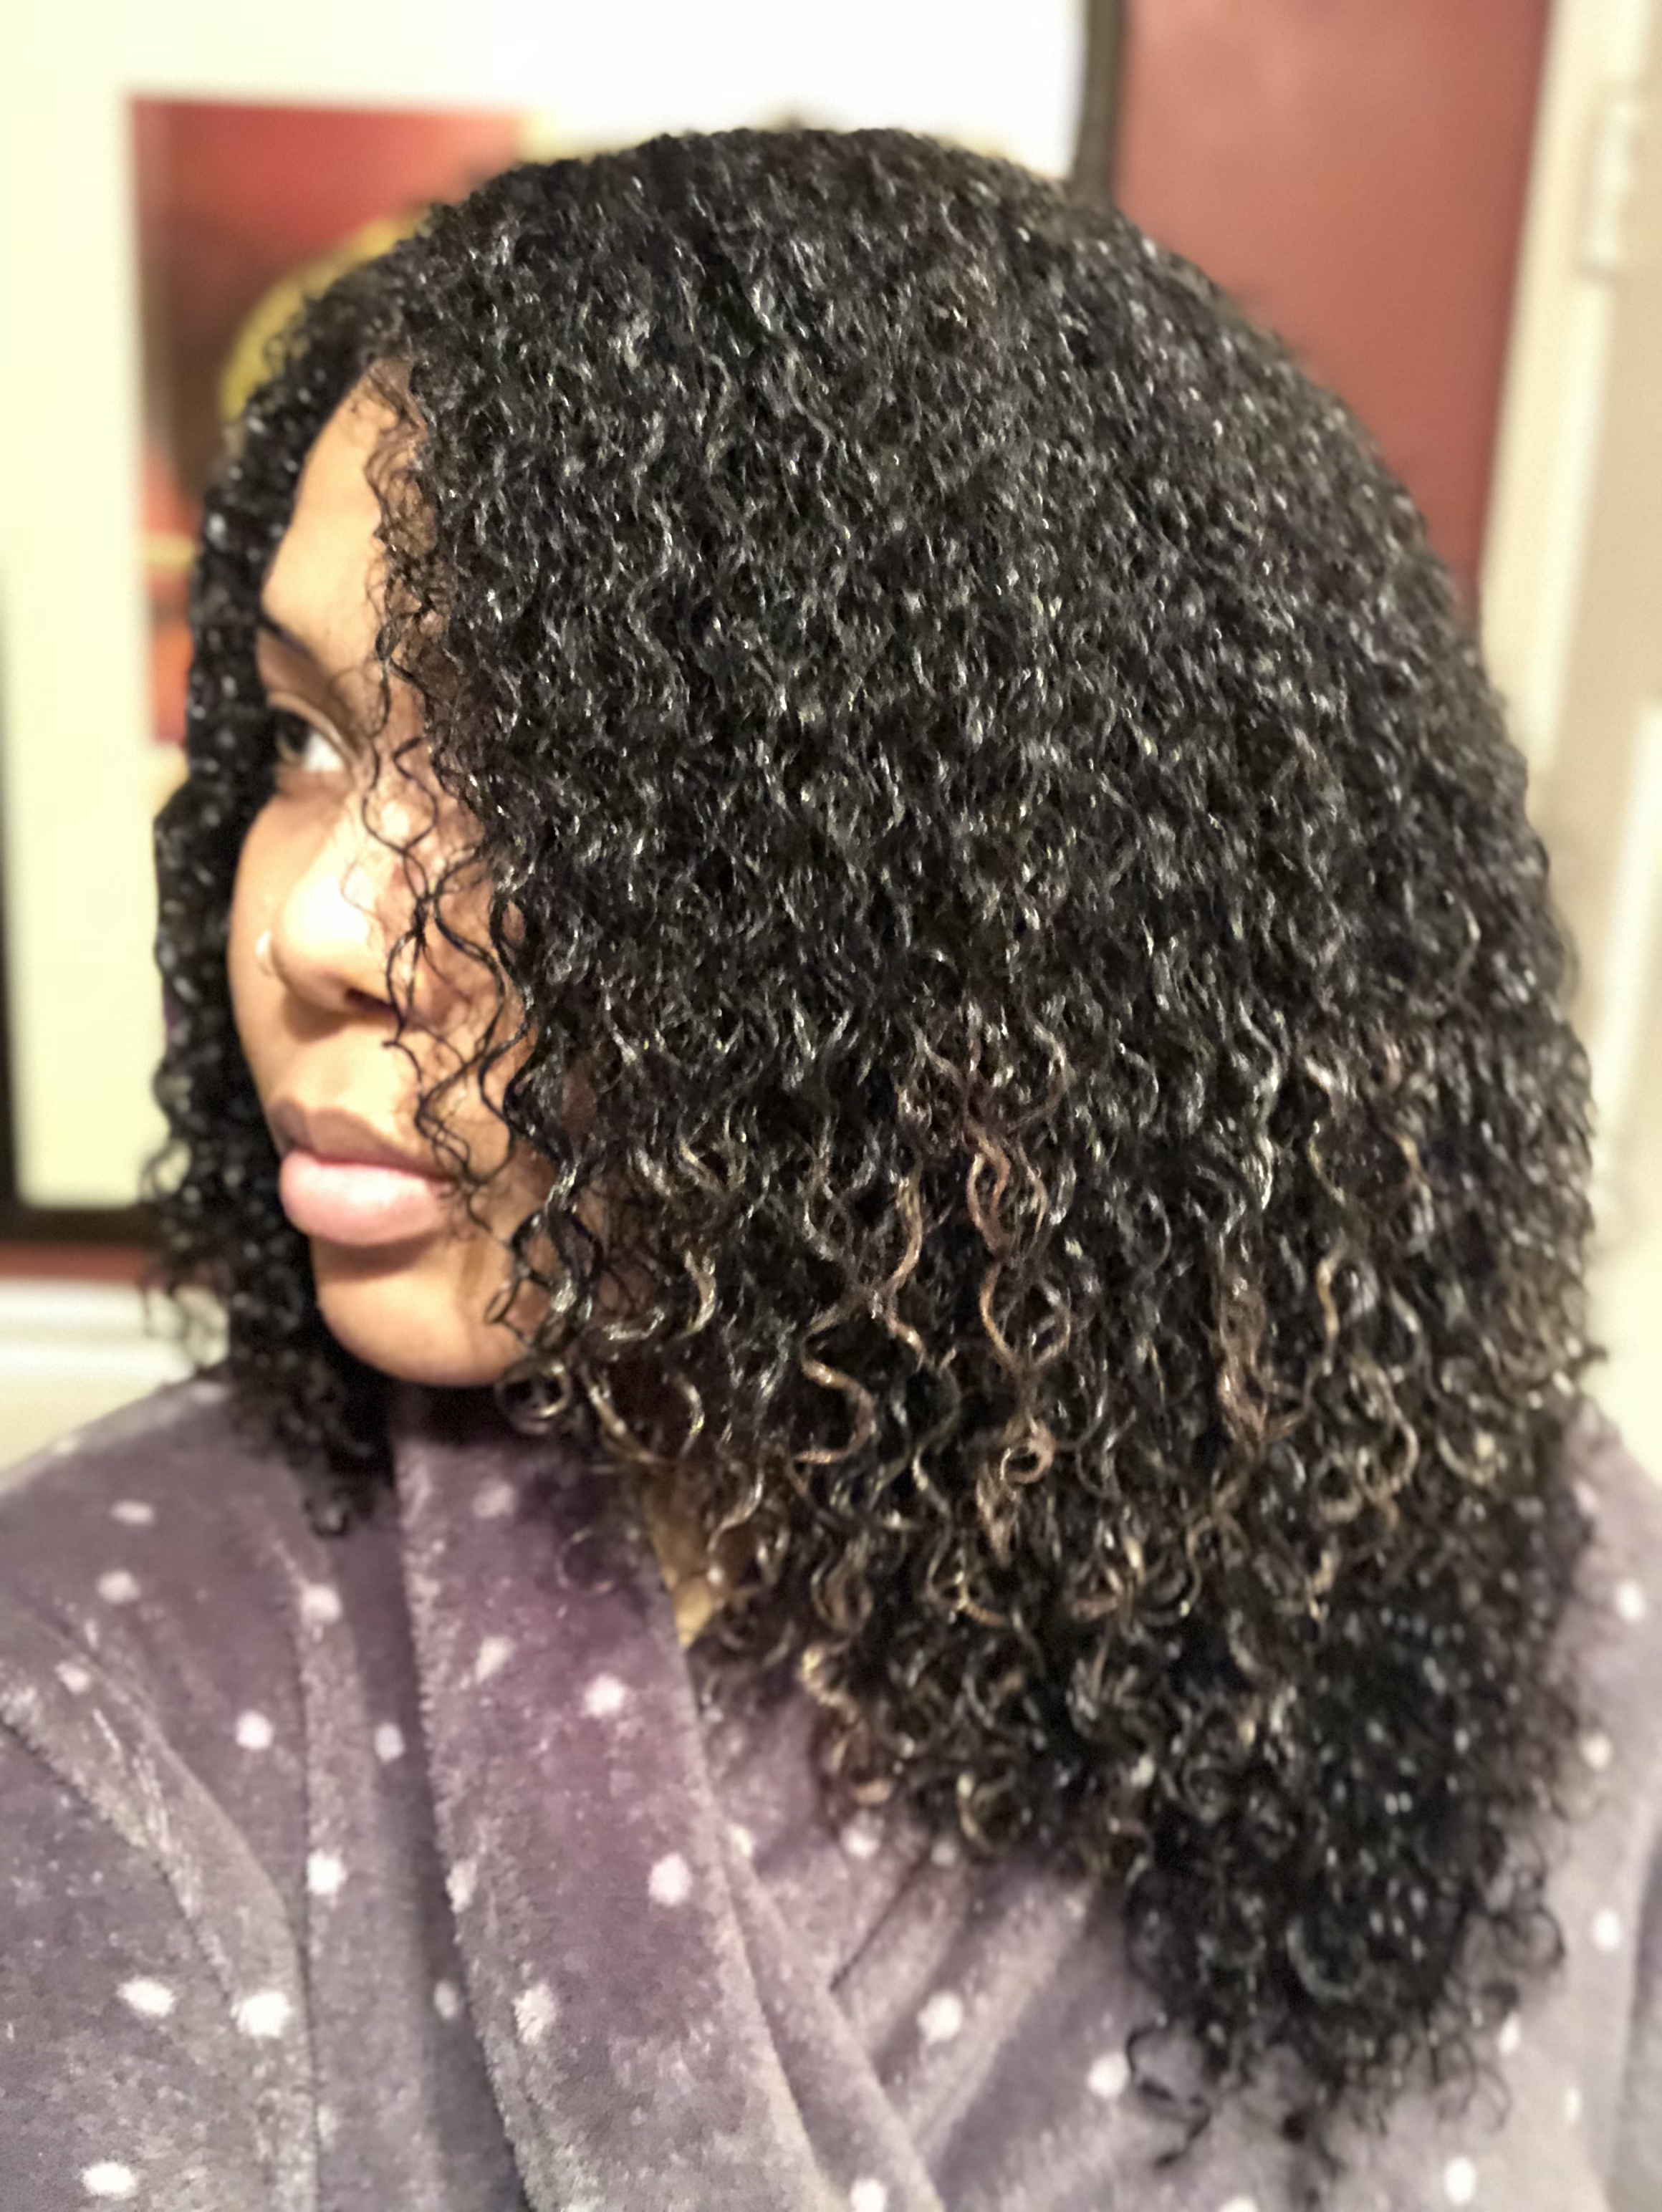
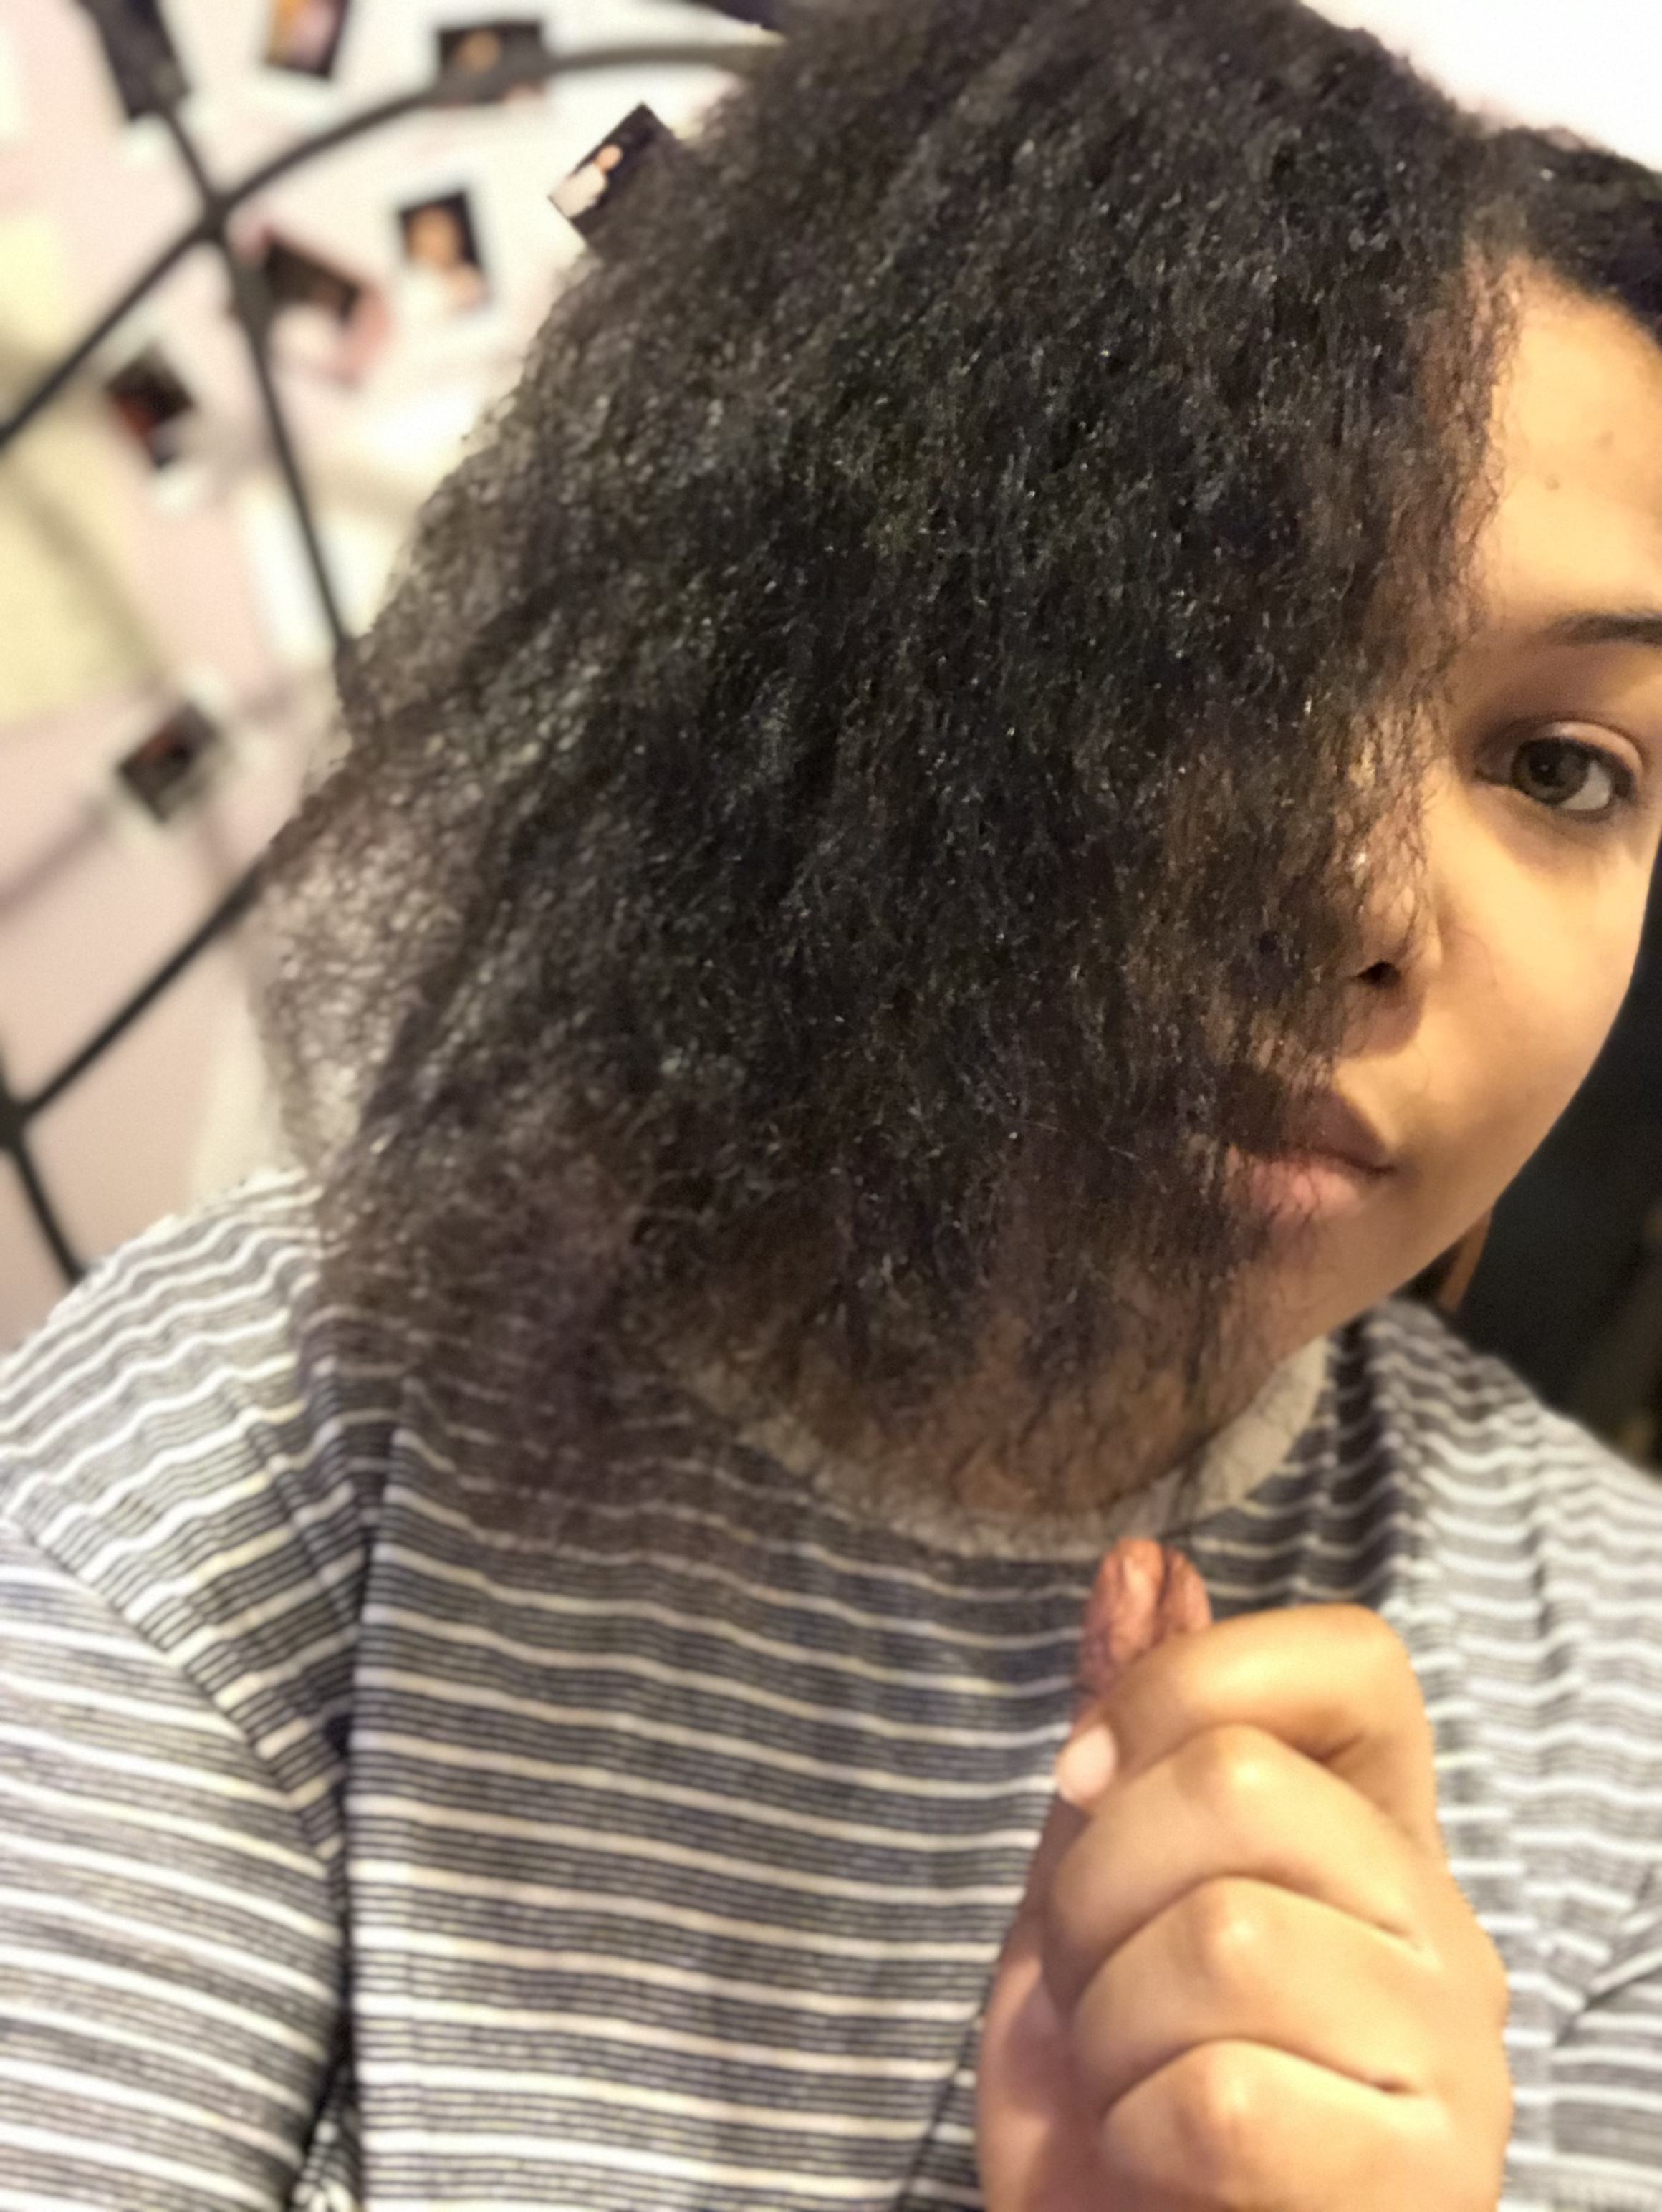
Step 3: Once your flat-twists are mostly dry, unravel them and use a wide-tooth comb to carefully comb out your hair. To get an extra stretch, I then went in with my Q-Redew Handheld Hair Steamer ($78.00, qredew.com), but this is optional. The steamer is great to further elongate and soften your hair without the direct heat or risk of damage from a typical heat tool like a flat iron. Whether you use a comb, brush, or steamer, the final result should be that of a blowout. Now, you’re ready to create your two-strand twists!
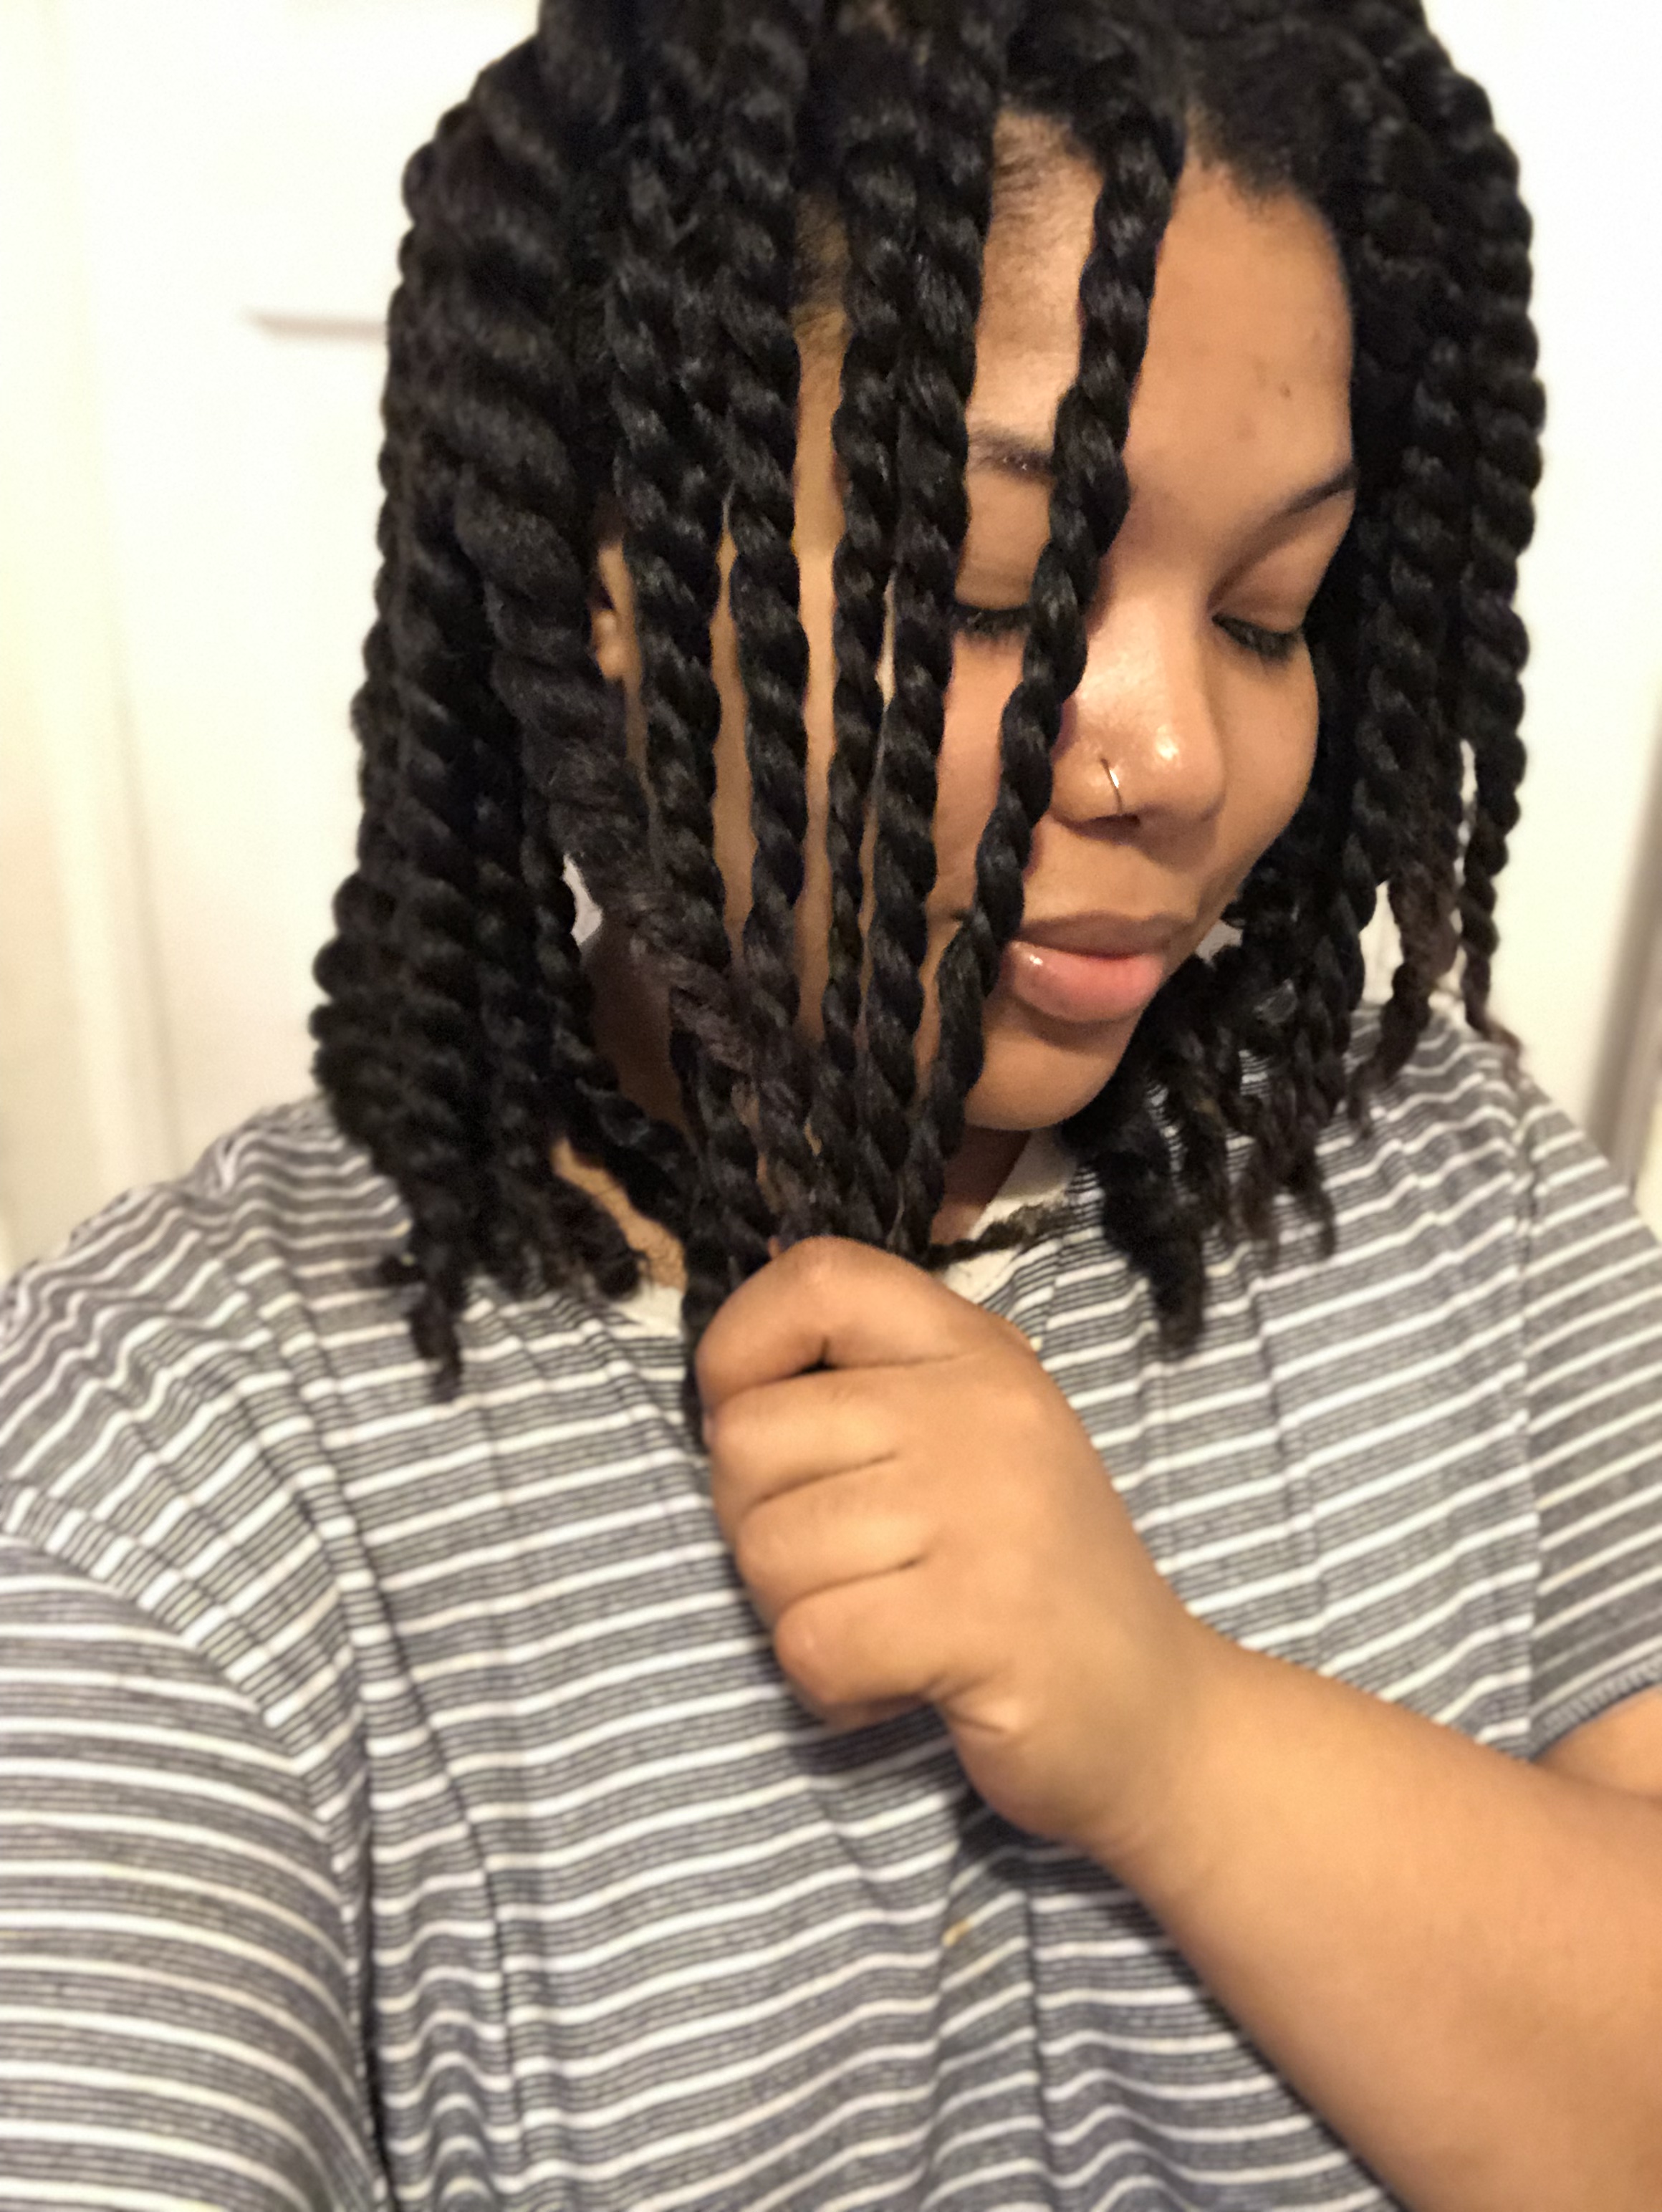
Source: McKenzie Dawkins / Photo by McKenzie Dawkins
Step 4: Grab a twisting butter of your choice. I used the Carol’s Daughter Coco Crème Coil Enhancing Moisture Butter ($10.00, target.com). Y’all…this cream is the truth! Not only does it smell amazing, but I don’t think I’ve ever used a cream that left my hair feeling this soft and moisturized. Bae even noticed a difference! Anyway, be warned that this is a very heavy twisting butter, so you only need the smallest amount per section. Split your hair into a desired number of working sections to make styling easier and create fairly small to medium-sized two-strand twists all over your head. The smaller your twists, the more defined your results will be!
Note that you are starting from your faux-blowout, so yes, you are twisting on dry hair. This is why it’s important not to over-use the product, or your hair will revert back to its natural state, creating shrinkage. The goal here is to keep the hair as stretched as possible, so one light swipe of your finger into the butter should be enough for each twist.
Step 5: Once your hair is all twisted, it’s time to let it dry. The pro to styling on dry hair is that your drying time is cut down dramatically. Where it would normally take my thick hair almost two full days or more to fully dry in wet twists or braids, this style was fully set over one night. If you really want to speed things up, you could even sit under a hooded dryer for 20 to 30 minutes and bam! I, however, chose to rock my elongated twists as a protective style for another two days. Aside from the amazing final results, I love this routine because between the flat-twists, two-strands, and twistout, you get three styles in one.
Source: McKenzie Dawkins / Photo by McKenzie Dawkins
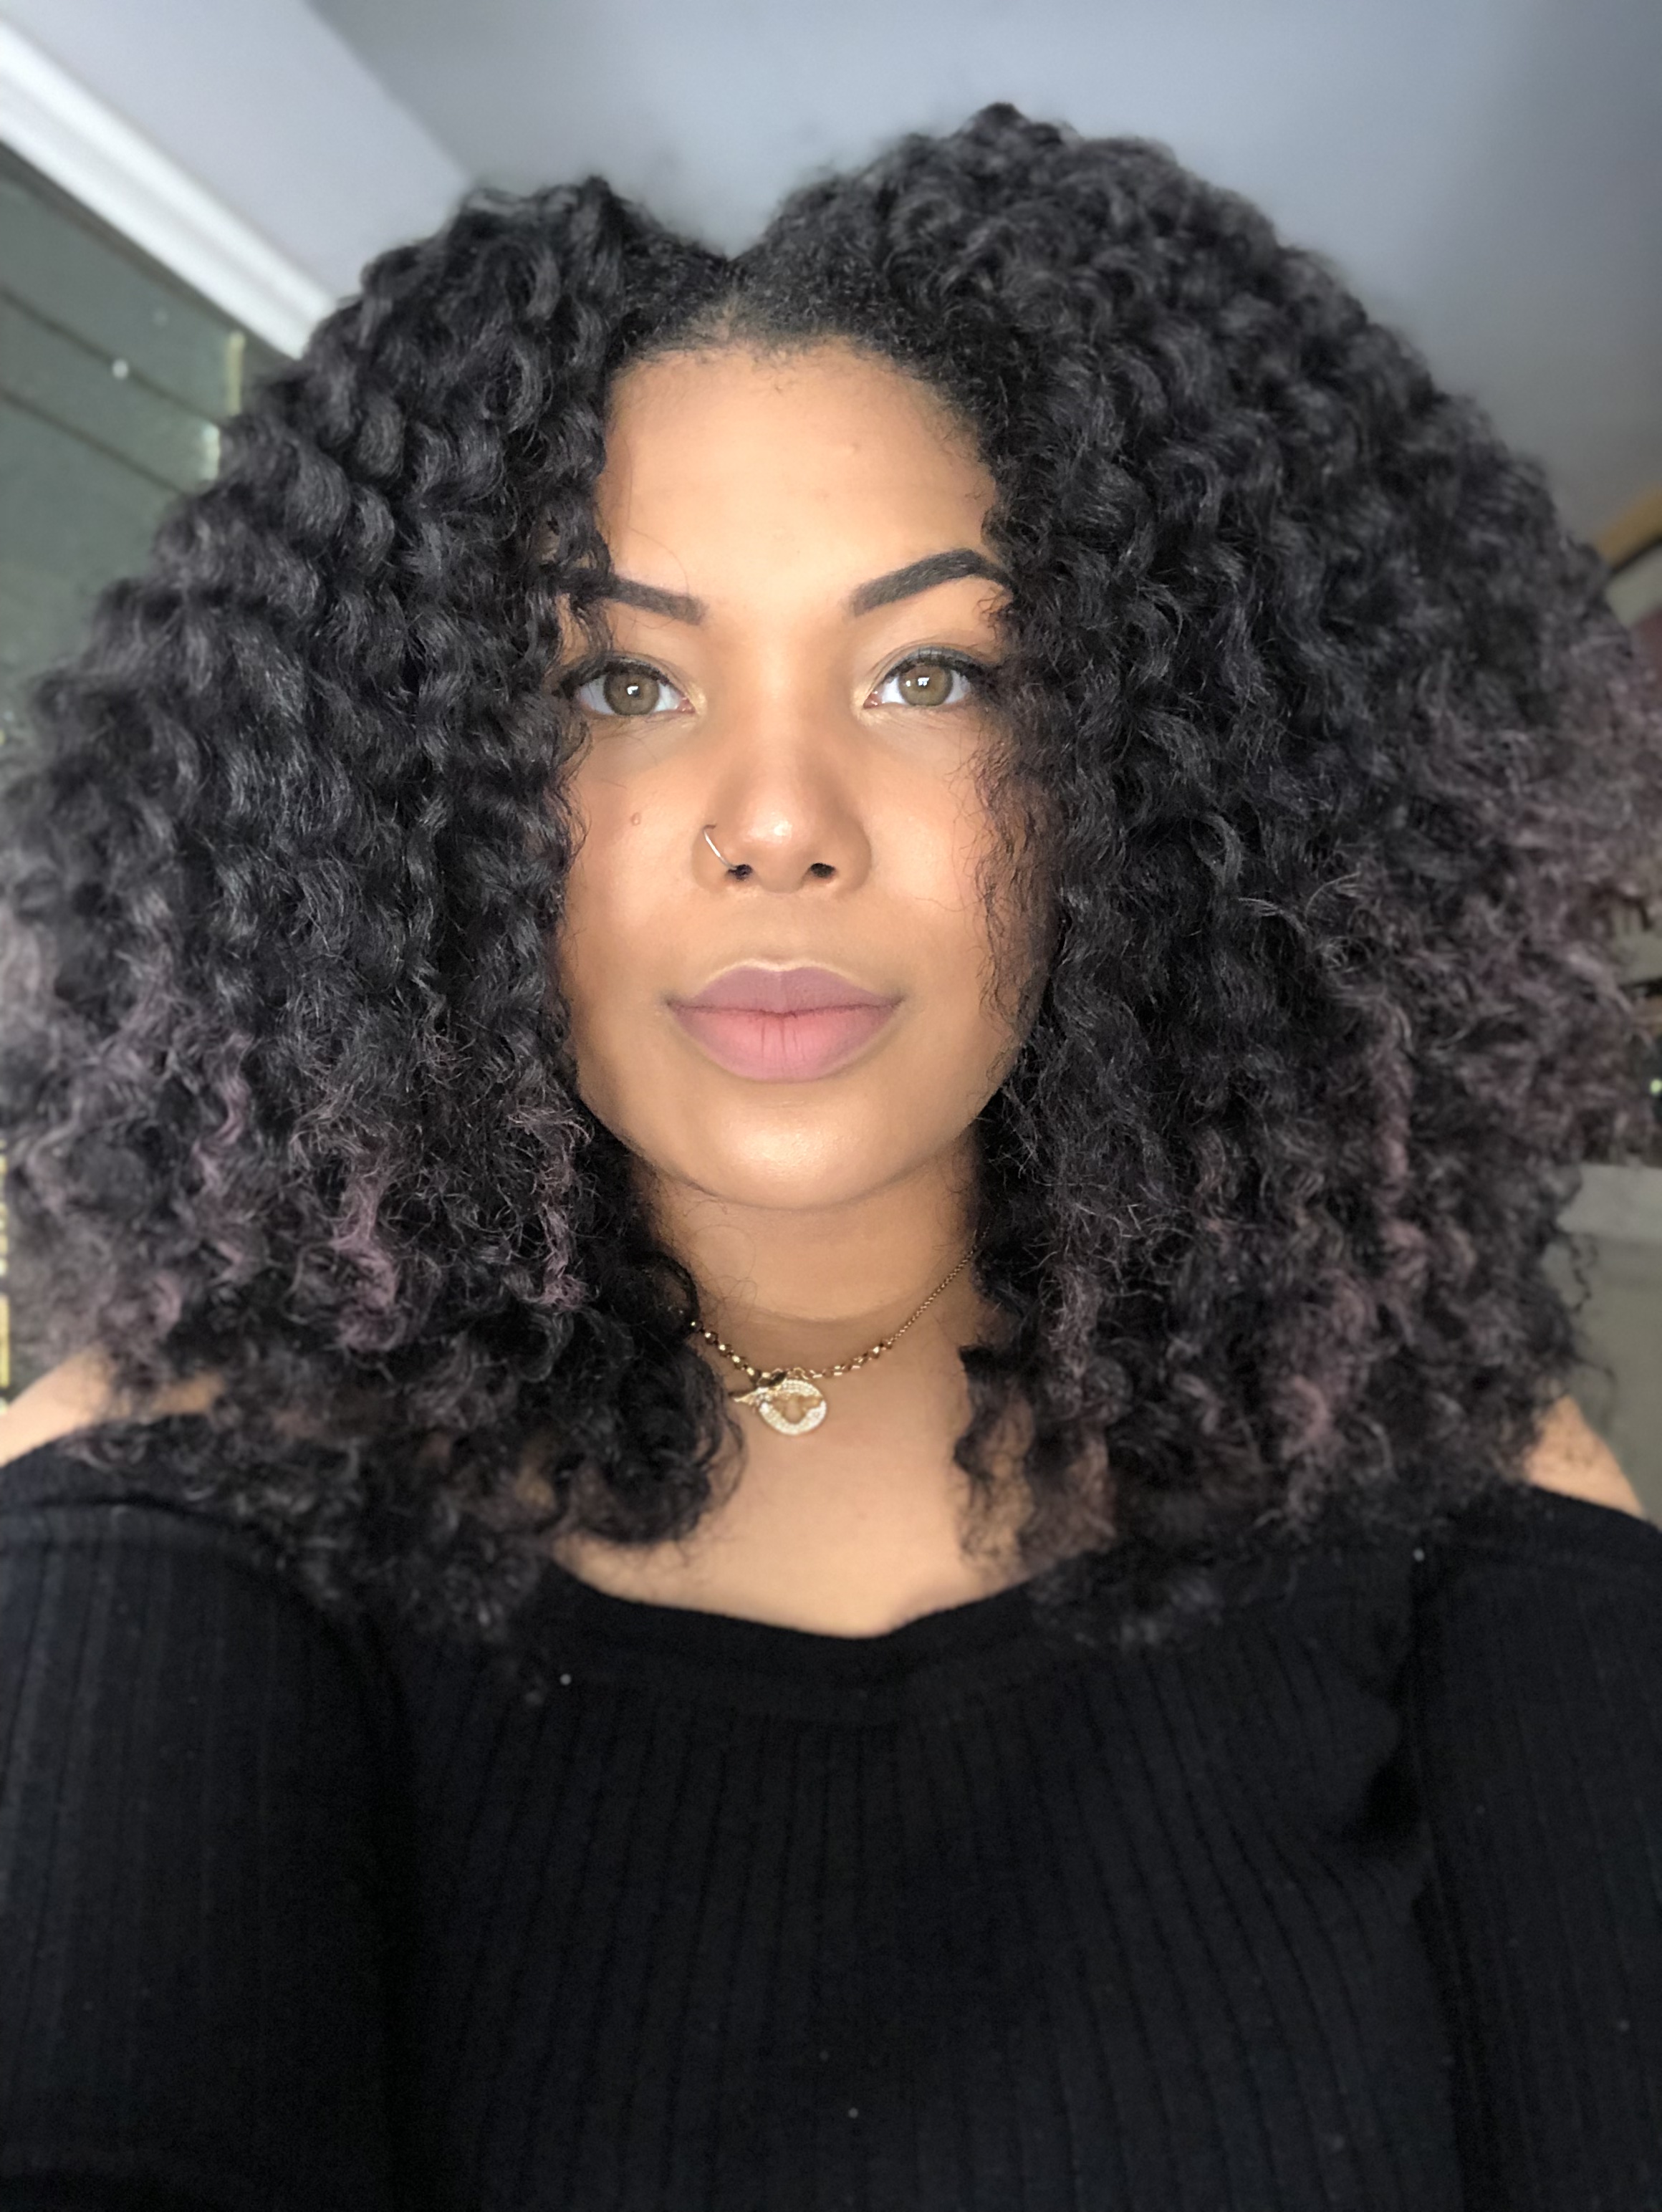
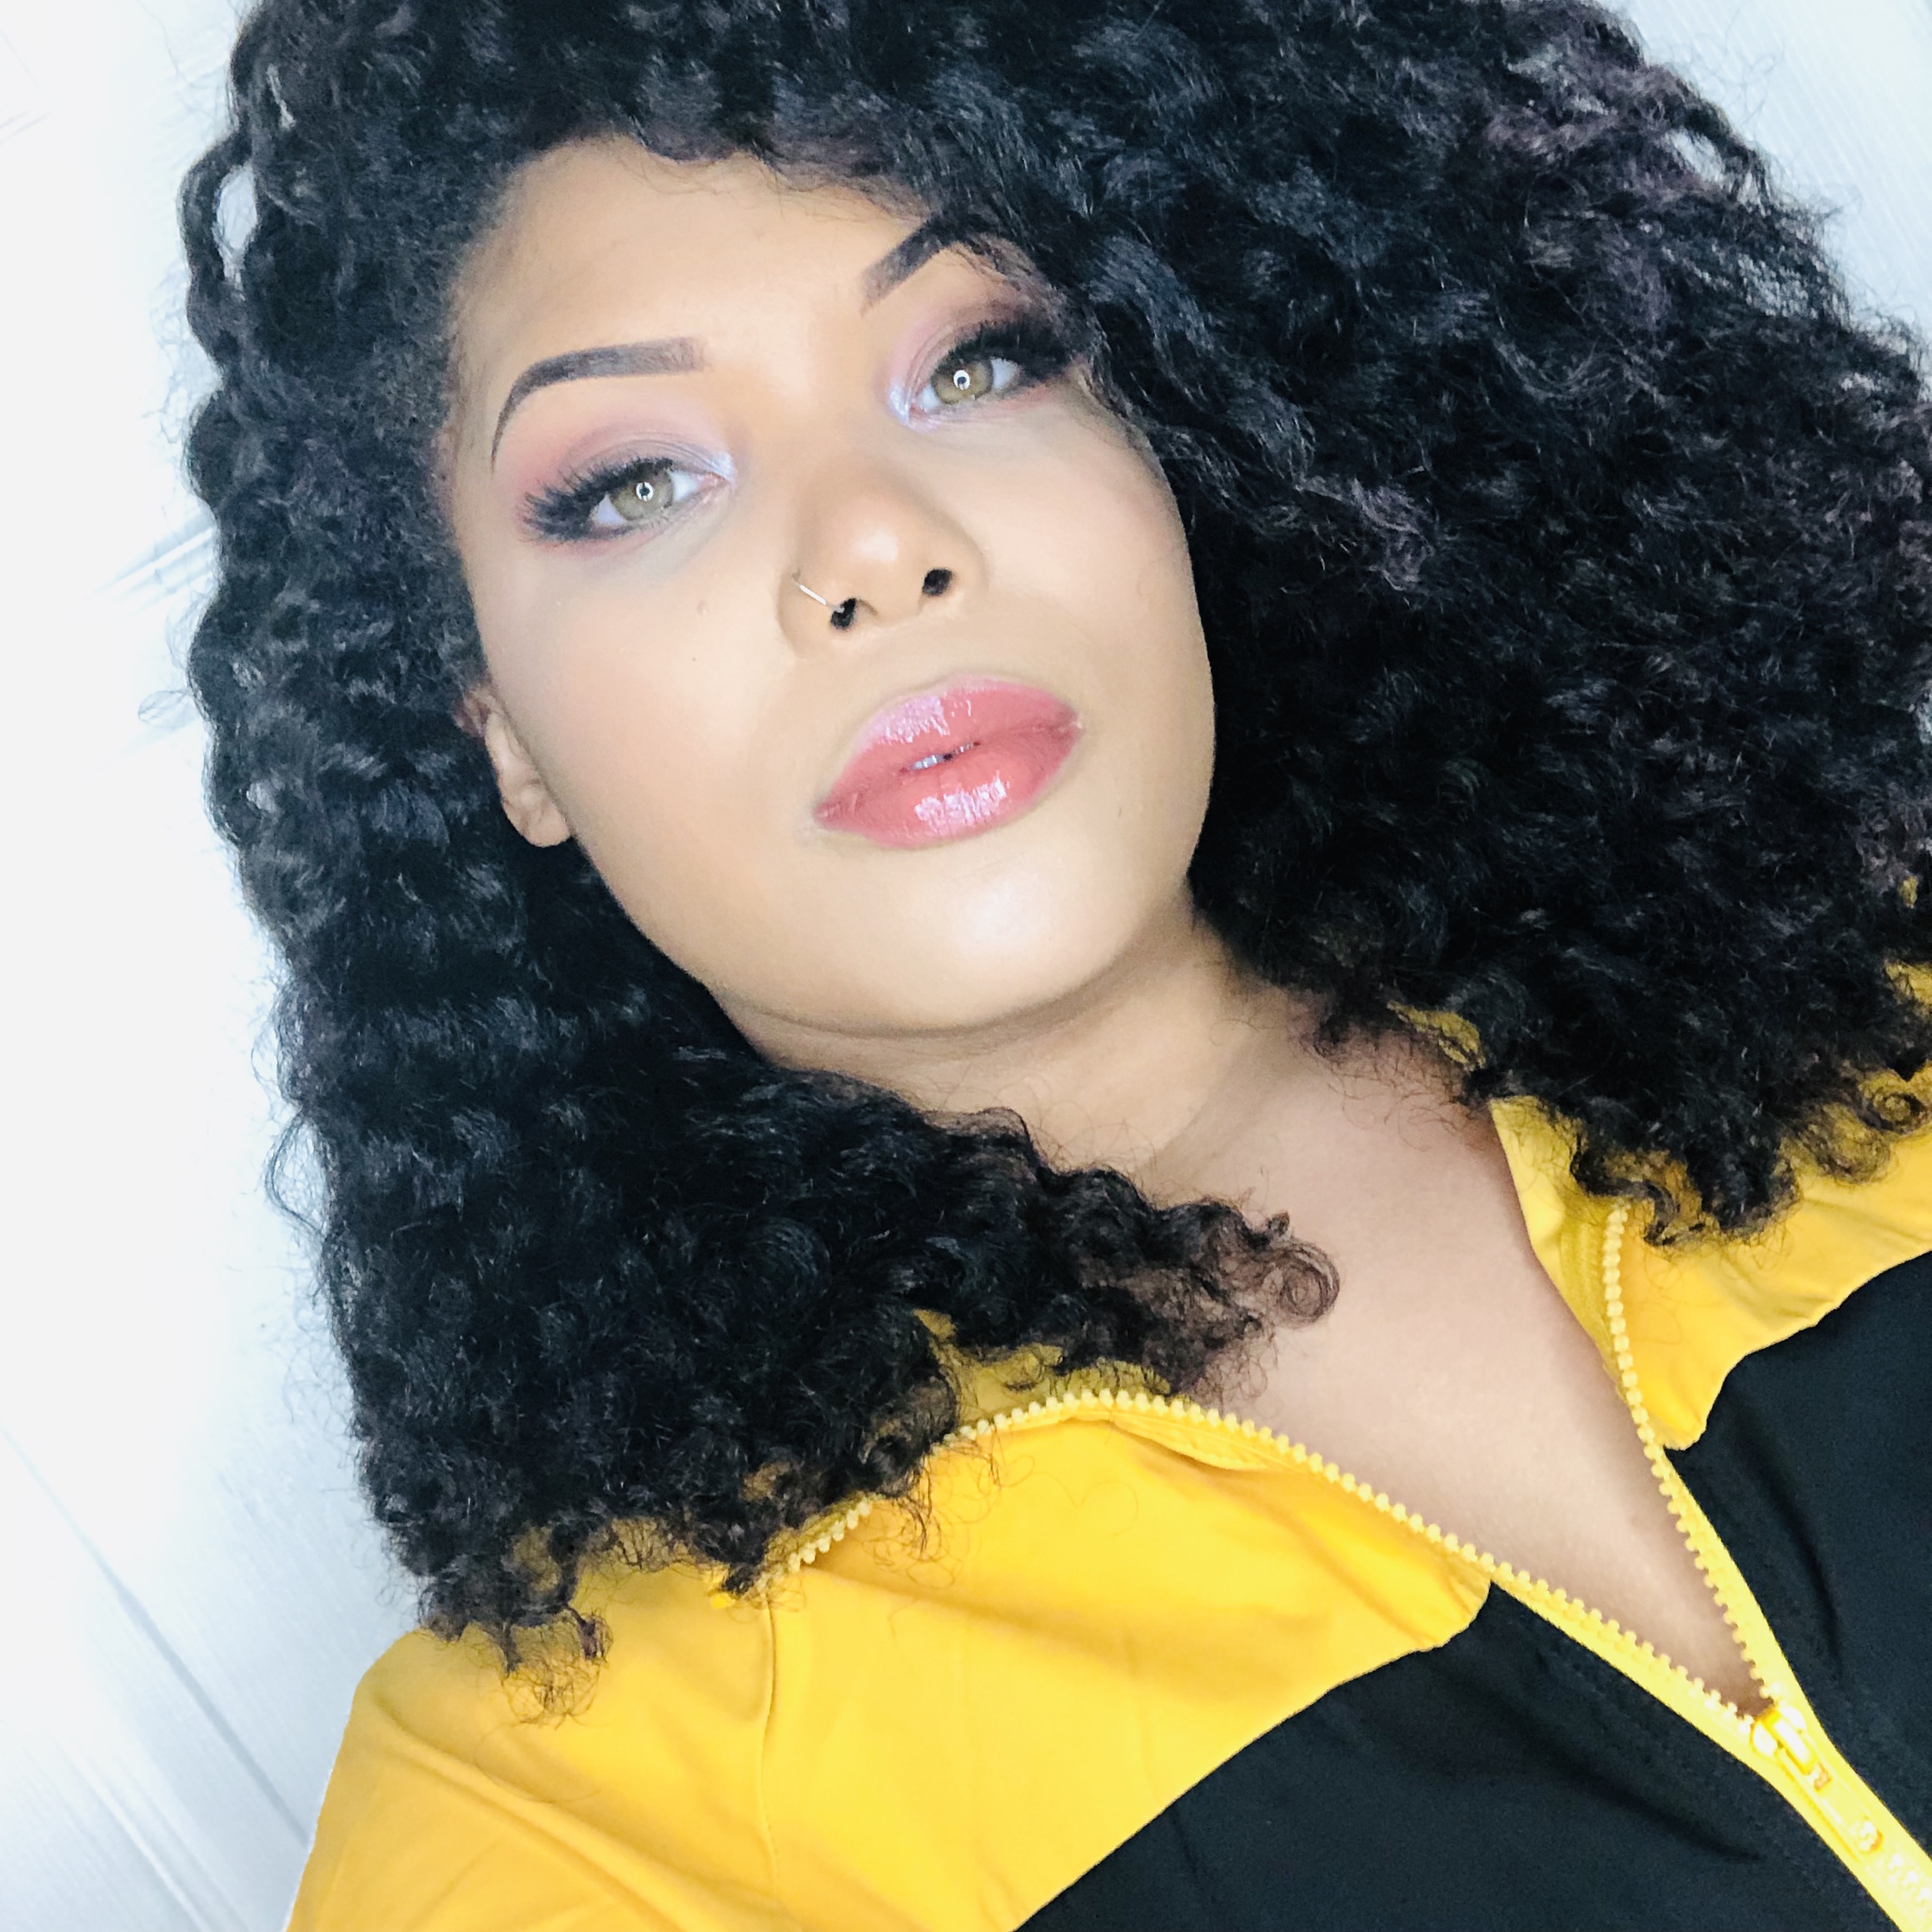
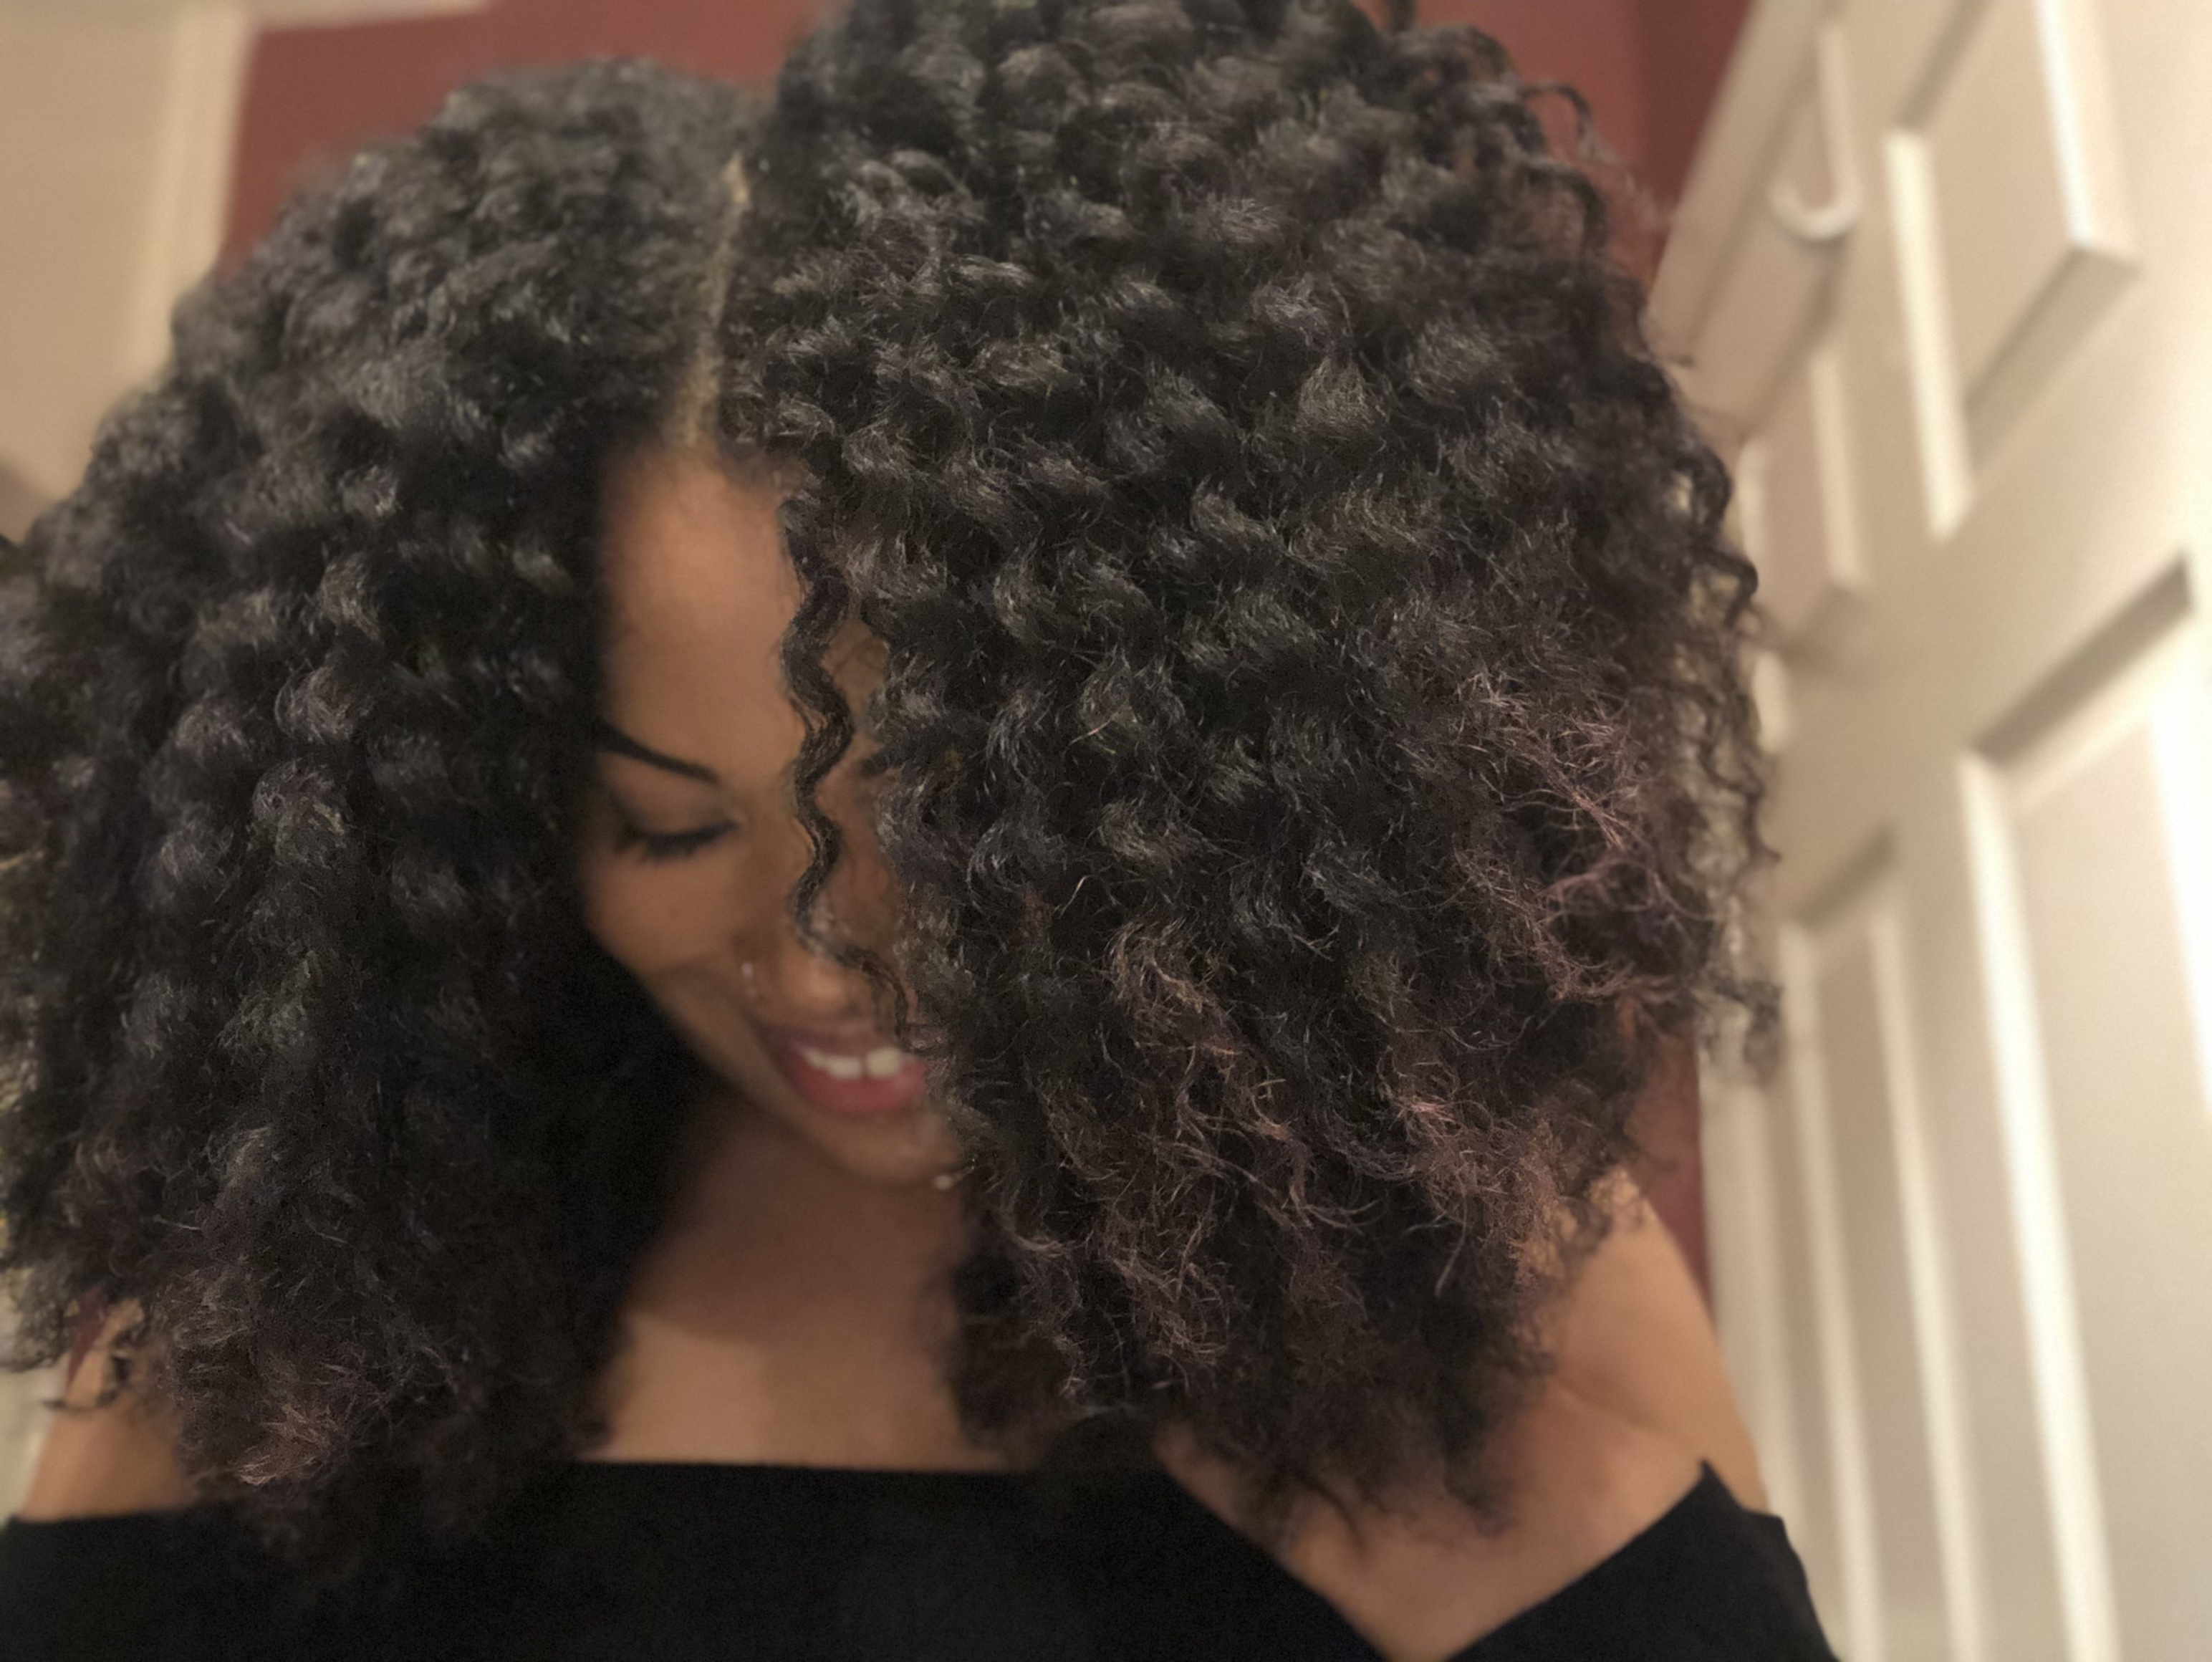
Step 6: When your hair is fully—and I mean, fully—dry, unravel your two-strand twists. Coat your hands with an oil to combat frizz and gently separate and fluff to your liking. I used the Creme of Nature Essential 7 Treatment Oil ($6.49, walgreens.com). Voila! Your hair is ultra-defined, soft, and elongated! I’ve been repeating this regimen for the past three weeks!
Would you give this elongated twistout a try? Let us know in the comments section!