She Tried It: Mayvenn Seamless Clip-In Extensions
Source: Kaylin James / Brande Victorian
I tried clip-ins for the first time several years ago, but it’s only in the past couple of years that I’ve gotten really comfortable wearing them on a regular basis — and remembering that they’re a viable option when I need a last-minute lewk. But curly clip-ins that perfectly match my hair texture and straight clip-ins that, well, may not, are two different things and I’ve always been intimidated by the latter. This holiday season I decided to throw caution to the wind, however, and try out a pair of Seamless Clip-In Extensions from Mayvenn.
Mayvenn has saved me from a last-minute hair crisis on more than one occasion so I knew I was in good hands when I requested the 220g Yaki Straight Seamless Clip-Ins from the brand in 20-inch length. To be honest, I’m still quite the novice when it comes to understanding the weight and textures of extensions, but with a quick Google search I confirmed Yaki Straight isn’t quite as straight as regular straight, and since I was going to be doing an at-home blowout to attempt to blend my hair with the extensions I figured this was my best bet.
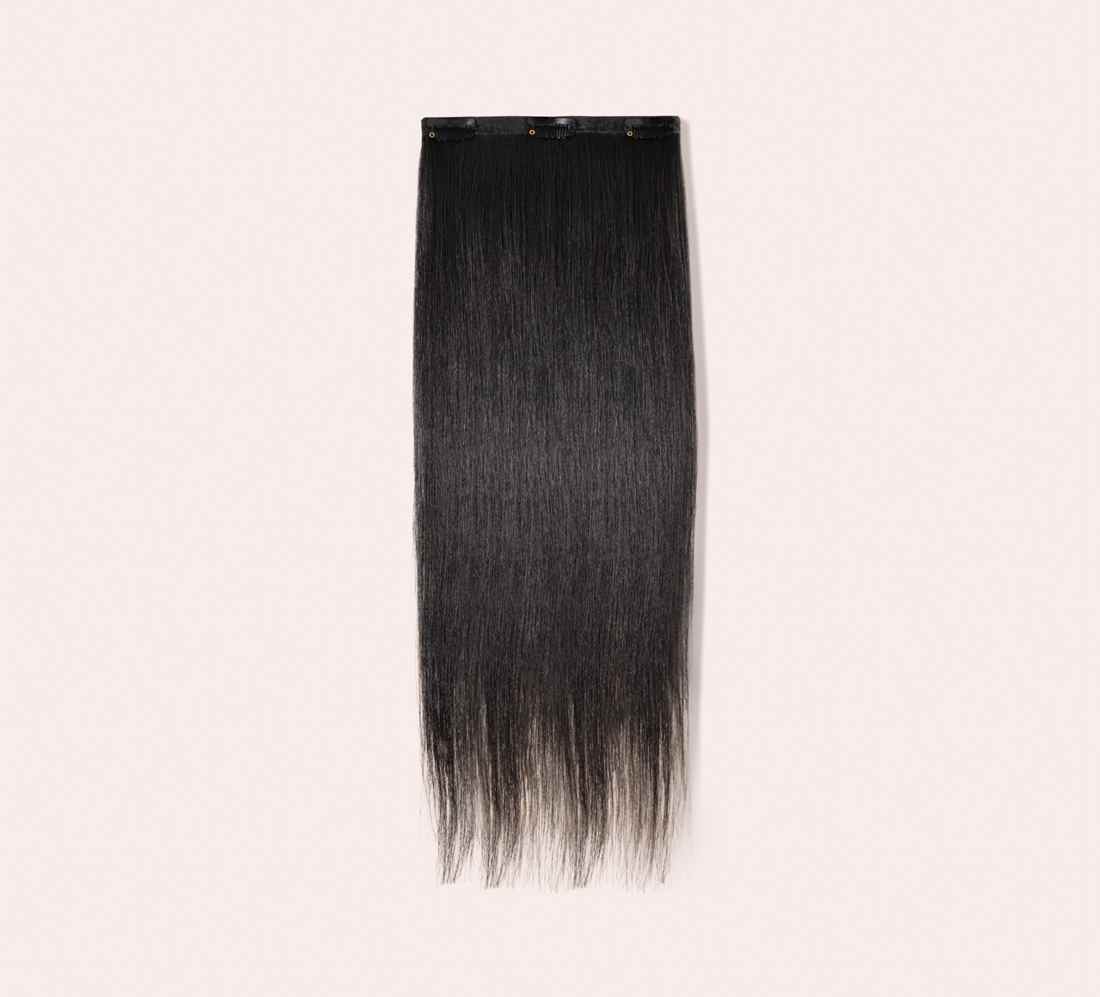
Source: mayvenn seamless clip-in extensions / Mayvenn
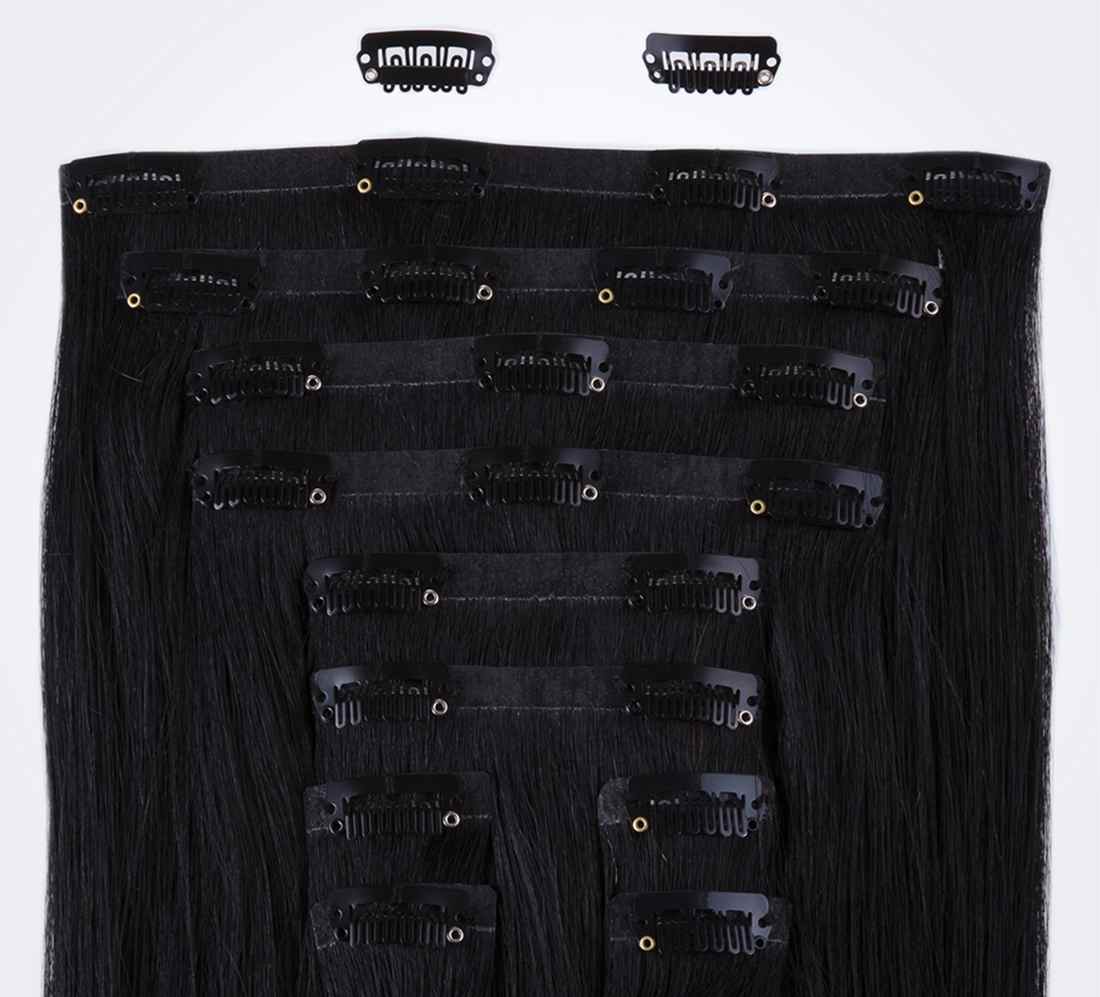
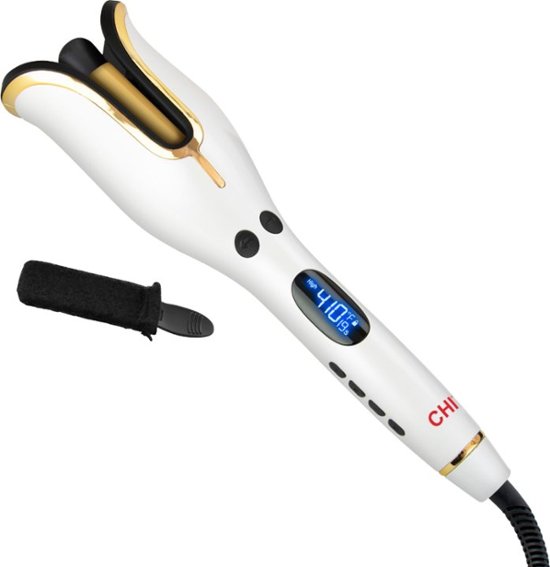
When the hair arrived, all of the bravery I had about experimenting with a new style went out the window. There’s no way this is going to blend with my hair I said laughing as I looked at my curly fro in the mirror and held the pack of 10 clip-ins in my hand which were indeed straight. I had a grand plan to put them in for a date later that evening but I decided there was no way that was going to work so I set the hair aside for another week-and-a-half until one Sunday night I was bored in the house and in the house bored. In addition to the clip-ins, I also had a new Chi Spin N Curl on my hands that needed a test drive so I figured I could knock out two birds with one stone.
I washed and blow-dried my hair and parted off about an inch or so in the center for leave out over the clip-ins and additional hair along the perimeter of my face. I then proceeded to do a very lazy version of flat twists because I didn’t have much faith in the style turning out good and I don’t know how to cornrow. In retrospect, I should’ve flat-ironed my entire head first so that my twists laid flater under the clip-ins. I figured I could spare my strands some heat damage since those parts wouldn’t show but the bulkiness of my twists definitely got the best of me as the days of wearing the clip-ins went by.
Source: mayvenn seamless clip-in extensions / Mayvenn
After I was done flat-twisting, I started adding the clip-ins row by row, starting with the 7-inch weft, then the 8-inch, two 6-inch wefts, and two 4-inch wefts. Initially, I was worried I might not have enough hair to cover my head but by the time I got toward my face I was struggling a bit to find space for the last two 1.5-inch wefts. The hair was thick and full and I started to get excited about moving on to the curling phase.
Source: mayvenn seamless clip-in extensions / Mayvenn
It was a commercial of the Chi Spin N Curl that made me want to give it a try. I have never been great with curling irons and I definitely haven’t mastered using a flat iron to curl hair, but the girls in a video I saw made curling with the device look so easy that I was dying to try. It turns out the Spin N Curl really is that easy to use — once you get the hang of it. The technique is pretty simple: hold the back of the curler near your head, slide about an inch of hair into the slots at the top, press either the right or left arrow to determine the way you want the curl to form, sit as your hair spins around the rotating curler, then wait 15seconds for the device to beep and let you know you can pull away and reveal your curl. Now the trouble I had, repeatedly, was trying to put too much hair into the device and not properly sectioning and combing out the strands each time so that it didn’t get tangled around the curler. The good thing is when you do it wrong, the device beeps and forces you to reset and try the curl again.
Once I got the hang of things, my whole mood change and I realized this whole DIY experiment might actually work. I skipped ahead and flat-ironed my leave out just to see how straight it would get and when I blended it with a strand from the clip-ins and put it in the Spin N Curl and it worked, I realized my look was actually kind of popping. I had a scheduled photoshoot the next day so I decided to rock my new style for it and I was beyond pleased with the overall outcome. The use of clip-ins made my extension look appear more natural and the fact that the clip-ins already came in jet black made them a perfect match for my own hair which I dye blue black every few months.
I rocked my clip-ins for five days before taking a break. I slept in them each night with a satin scarf but I’d definitely recommend removing them and starting fresh in the morning. It’ll keep the hair from tangling and take pressure off of your scalp. I washed my clip-ins immediately after wearing and let them air dry and they’re still as bouncy and silky as they were when I first got them which was a relief. This will definitely be my new go-to.